(Part 2 of 2) SkyDoc is a document management tool built on the NetSuite platform that allows users to upload and download documents, as well as share and collaborate, all at an affordable price point. SkyDoc eliminates storage limits and provides a highly secure environment for file storage that is SOX and GDPR compliant. Our previous blog covered the SkyDoc document approval process for users with access to NetSuite. This blog provides a detailed overview on the file approval process for users with no NetSuite access, such as external vendors or contacts.
Using SkyDoc Portal, users without NetSuite access can upload or approve files. Files uploaded to the SkyDoc tab in Netsuite can be approved by portal users. In order for any user other than internal employees to use the portal for file approval, an author must be assigned for every email sent in the approval process.
In order to select the author, navigate to Setup > Company > General Preferences > Custom Preferences > Tvarana SkyDoc Advanced > AUTHOR’S EMAIL FOR SKYDOC EXTERNAL ACCESS and select a user.
Setting up external access for approvers:
- Navigate to any entity record and check the SKYDOC EXTERNAL ACCESS checkbox in order to give access to an external approver
- Enter the password for portal access
- If the approver needs to be notified about the external access, check the SKYDOC EXTERNAL ACCESS NOTIFICATION checkbox
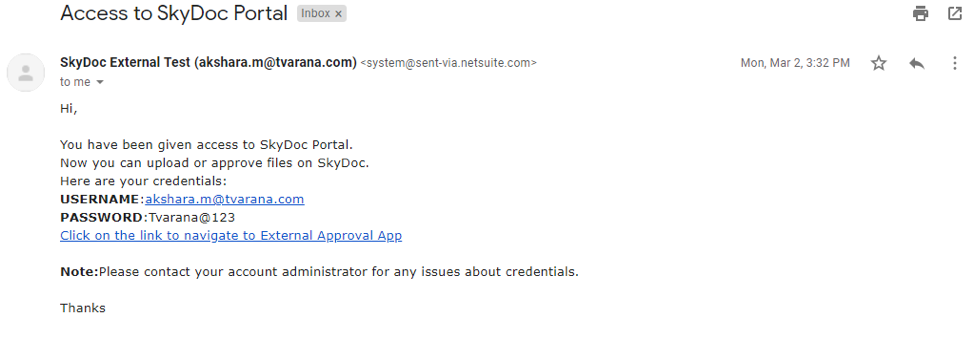
- An email will be sent to the external approver with the username, password and a link to log into the portal
- For transaction records, select the contact/employee in the APPROVER (previously labeled EXTERNAL CONTACT APPROVER) field of the transaction
Uploading files to the SkyDoc tab:
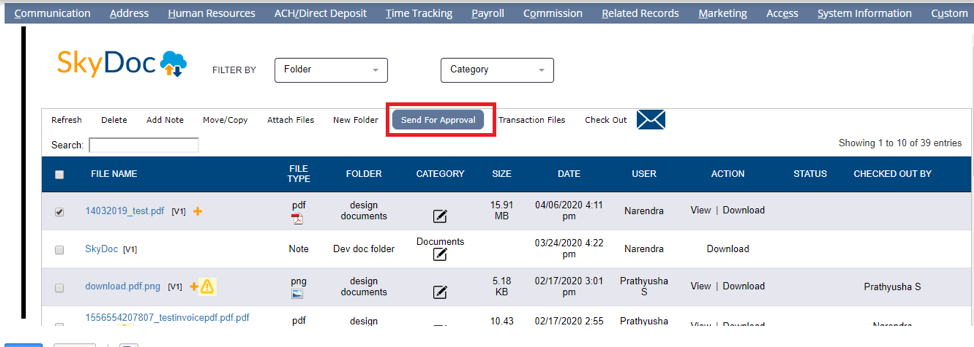
- Open any record, go to the SkyDoc tab, upload your file of choice and click the Send For Approval button
- A pop-up with the message Selected files have been sent for Approval appears . Click the Ok button to proceed
- An email will be sent to the external user that a file is waiting for their approval
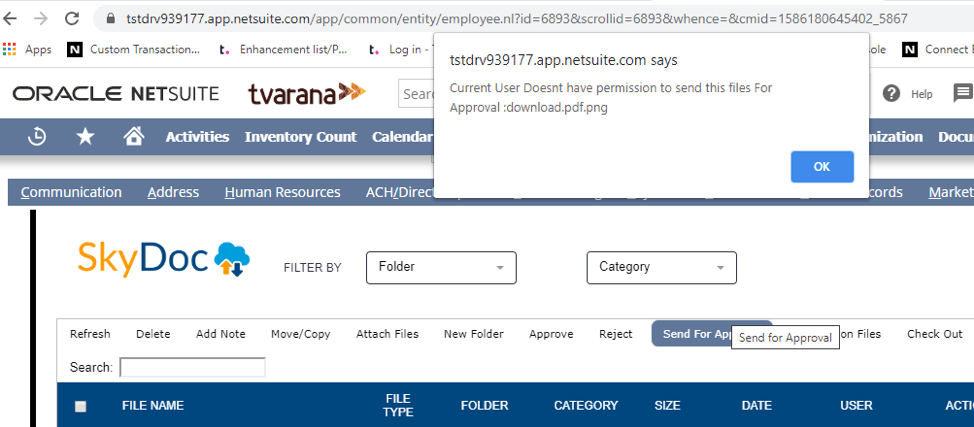
- Only the owner of the file can send it for approval. Any other user attempting to send the file for approval will see the following alert message
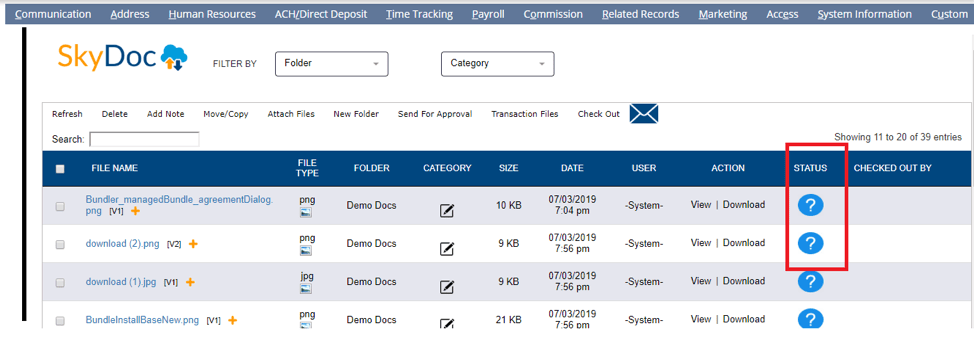
- Once the file has been sent for approval, its status changes to Pending Approval and the corresponding status icon can be seen in the status column
Login to the SkyDoc Portal:
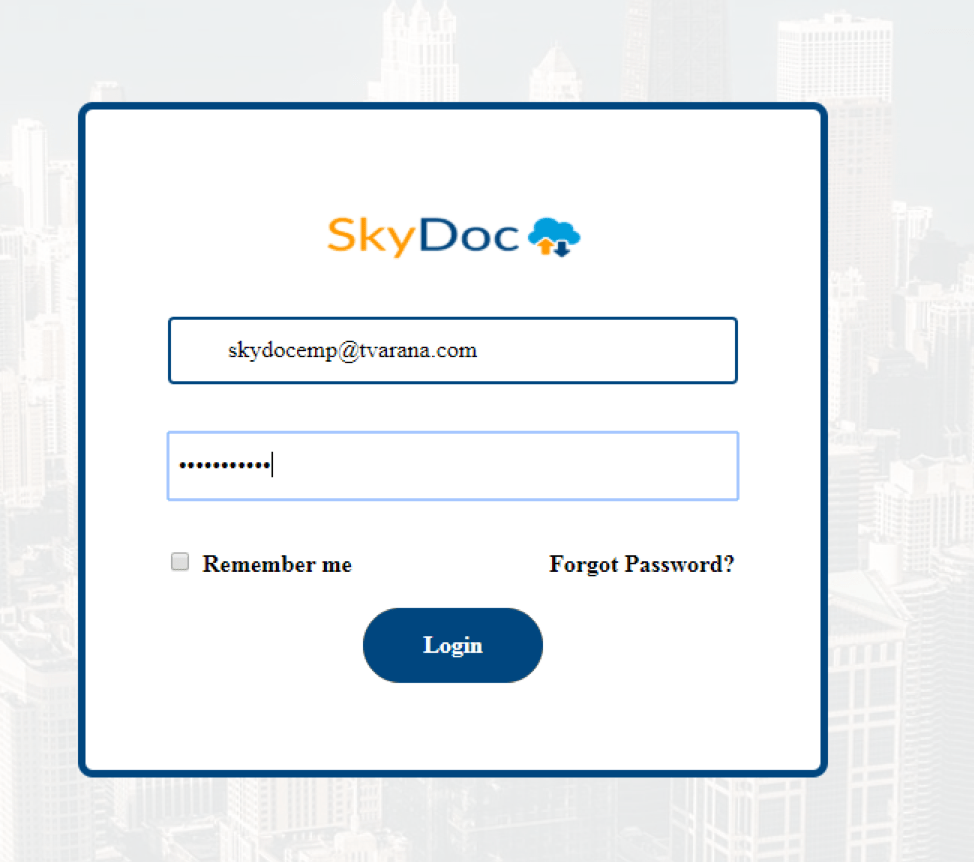
- Click on the link in the notification email and enter the username and password
- The user now has access to SkyDoc portal, as seen below:
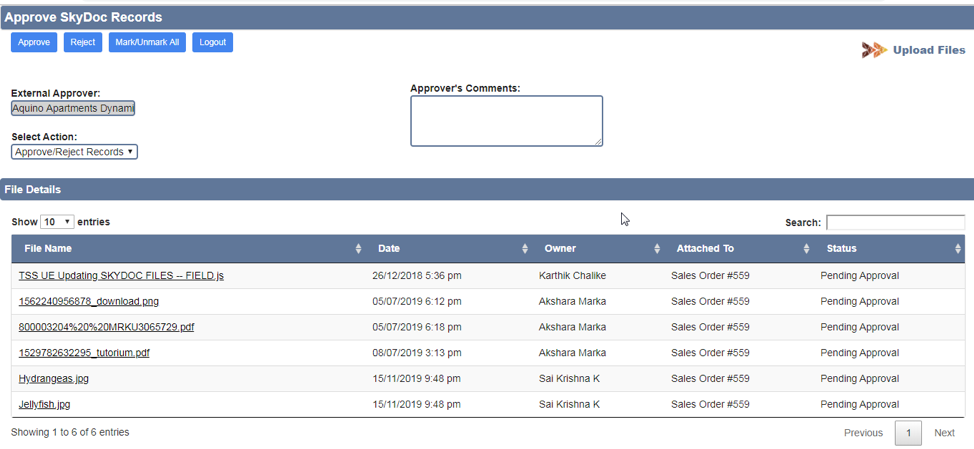
- To preview the file before downloading, click on the file name
- To select/unselect all the files, click on the Mark/Unmark All button
- Select a file and click either on the Approve or Reject button
- An email will be sent to the user that the file uploaded by them has been approved (or rejected)
- Comments can be added in the Approver’s Comment field
- Approved/rejected records can be viewed by clicking the Approved Records or Rejected Records in the Select Action field
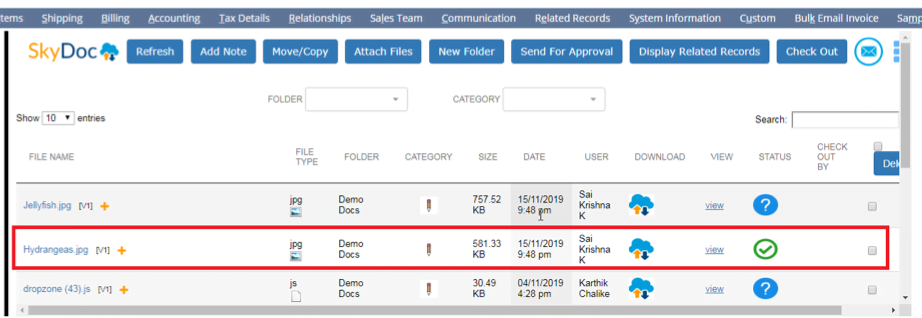
- Once the file has been approved in the portal, the approval status changes to reflect its status
- The external user can upload files by clicking on the Upload Files button
- To give external users access to SkyDoc folders, go to Documents > SkyDoc Folders > SkyDoc Folders List. Open a folder and select the external user in the External Entity field of the SkyDoc Portal Access subtab
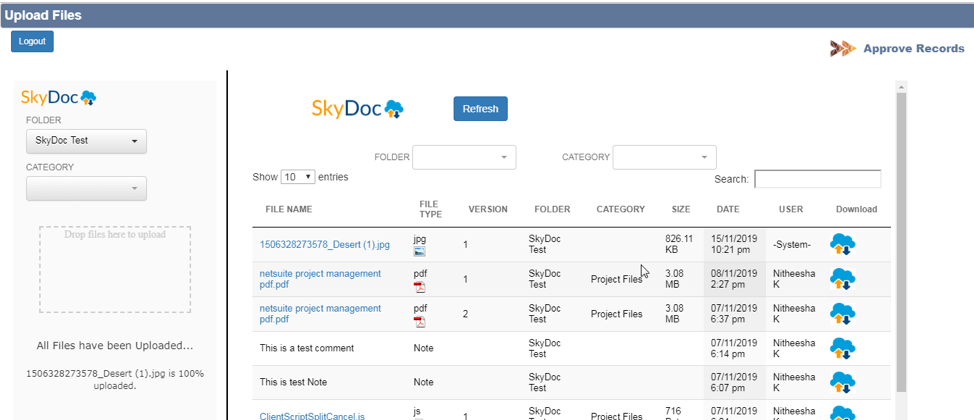
- Once the approval process has been completed, log out of the portal by clicking the Logout button
Interested in learning more about how SkyDoc can fix your NetSuite storage issues? Schedule a demo with one of our experts today!

